

Use your Brand Kit to keep approved brand assets in one place for your team. Brand Colors, Fonts, Logos, Images, Videos, Smart Text, Brand Sizes, and Brand Settings can then be used across templates and designs so everyone works from the same approved materials.
Brand Kit is available from the Brand tab in Easil. You need Brand Manager access for the team you are working in to add, edit, or remove Brand Kit assets.
Add Brand Colors
Use Brand Colors for approved palettes that should appear in the editor color picker.
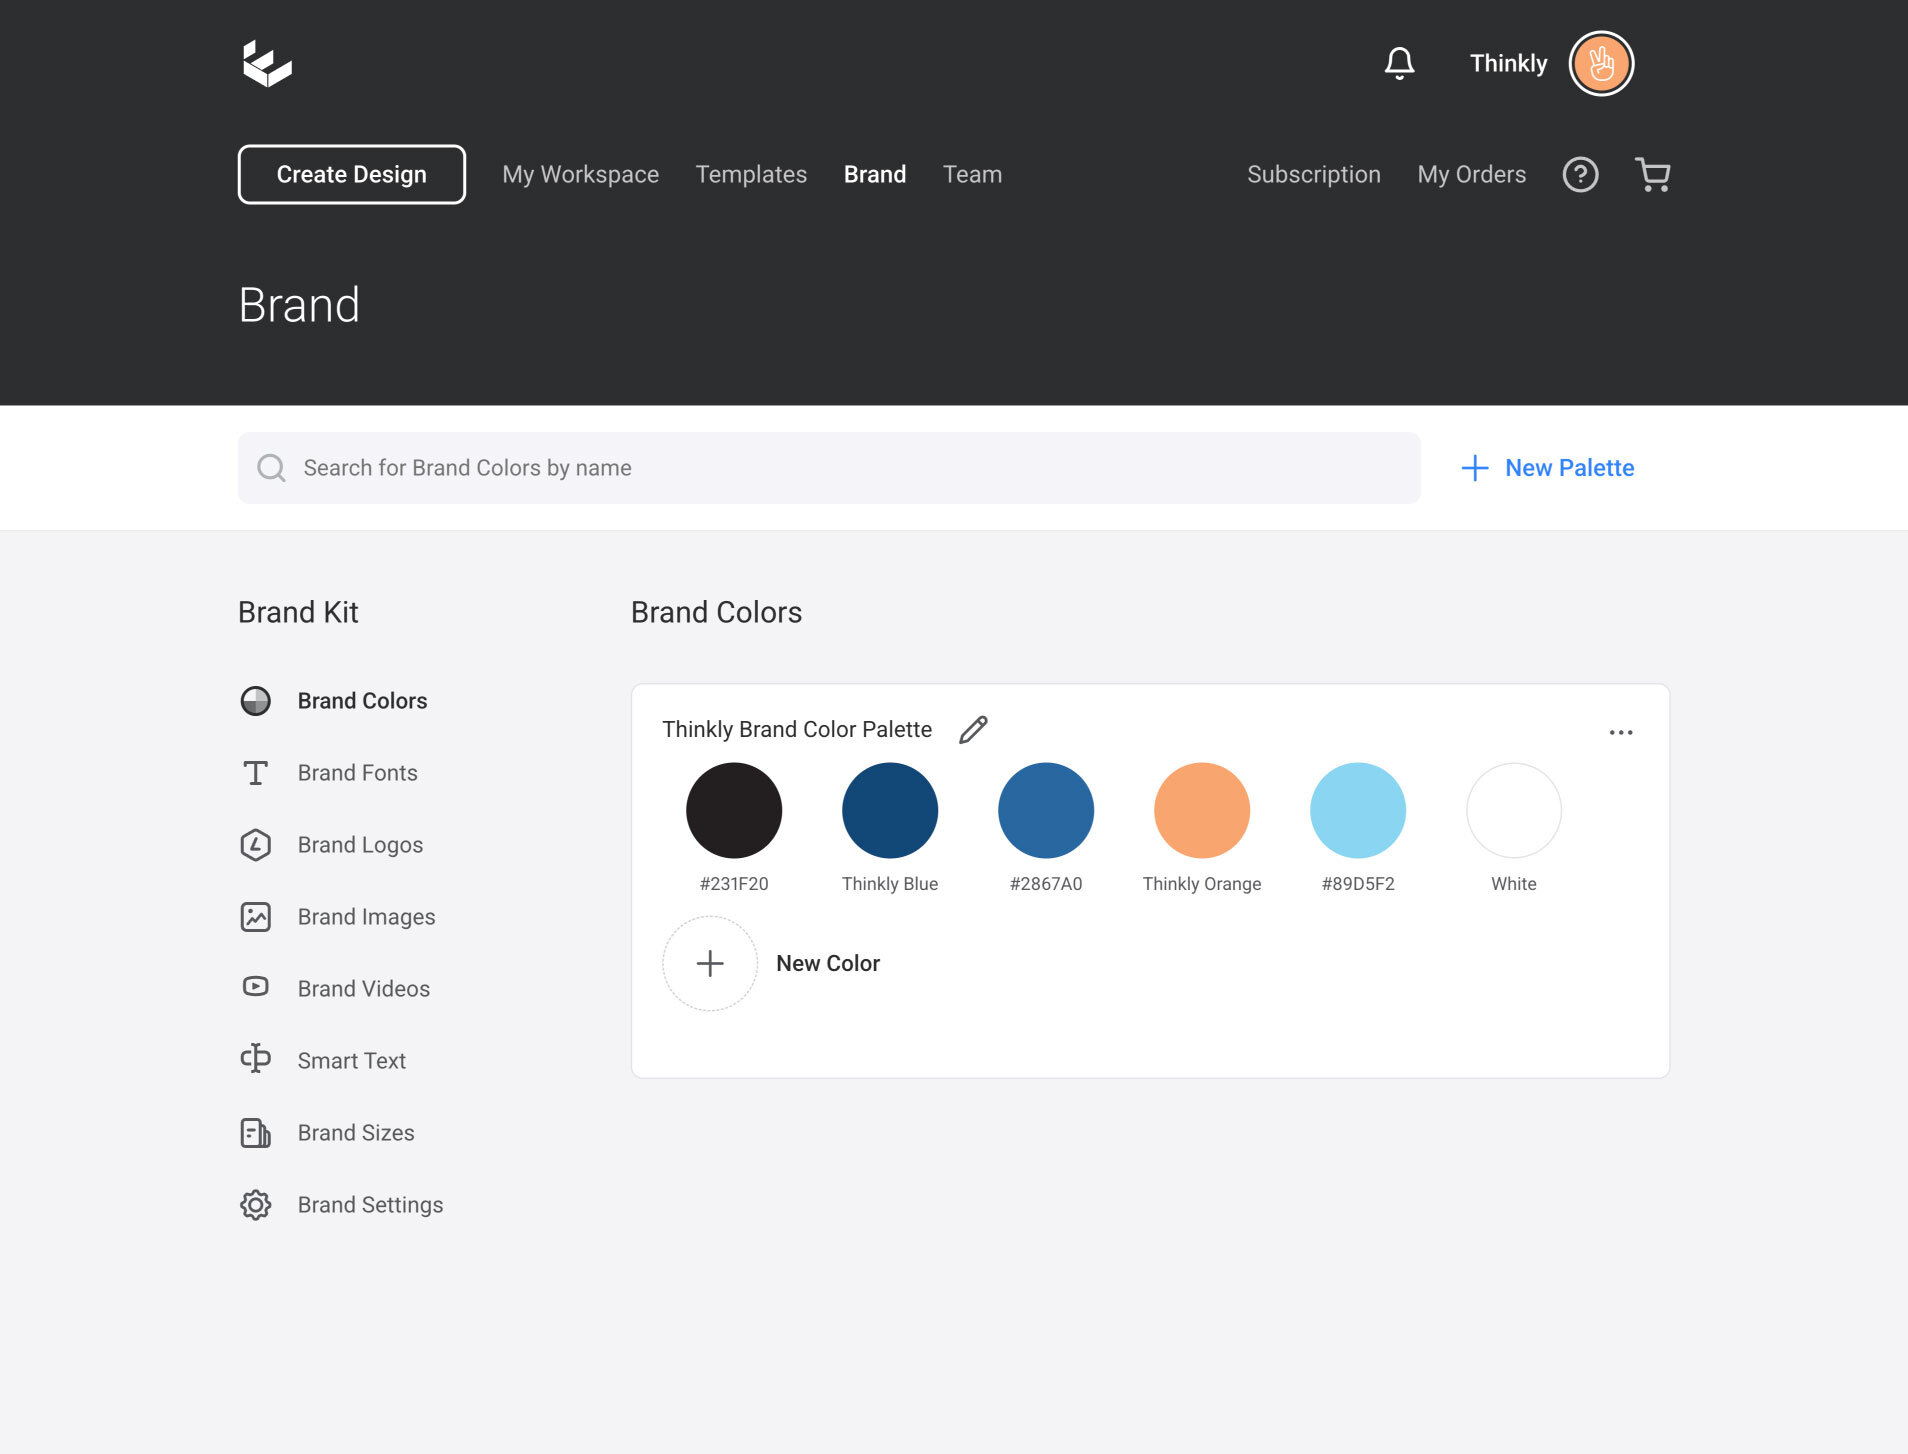
- Open Brand and select Brand Colors from the Brand Kit menu.
- Select + New Palette.
- Add colors using a hex code, RGB value, or the color picker.
- Optional: add a Color Name, such as Primary Blue, Stormy, or Sale Red.
- Continue adding colors to the palette as required.
- Select the pencil icon beside the palette name to rename it.
- Repeat for any additional palettes your team needs.
Named Brand Colors are shown with their hex code in color swatch tooltips. This helps your team choose the correct shade when similar colors are used across Brand Kit colors, template colors, image colors, background colors, and element colors.
To remove a color palette, open the palette menu and select Delete.
Upload Brand Fonts
Use Brand Fonts for approved typefaces your team should use in designs.
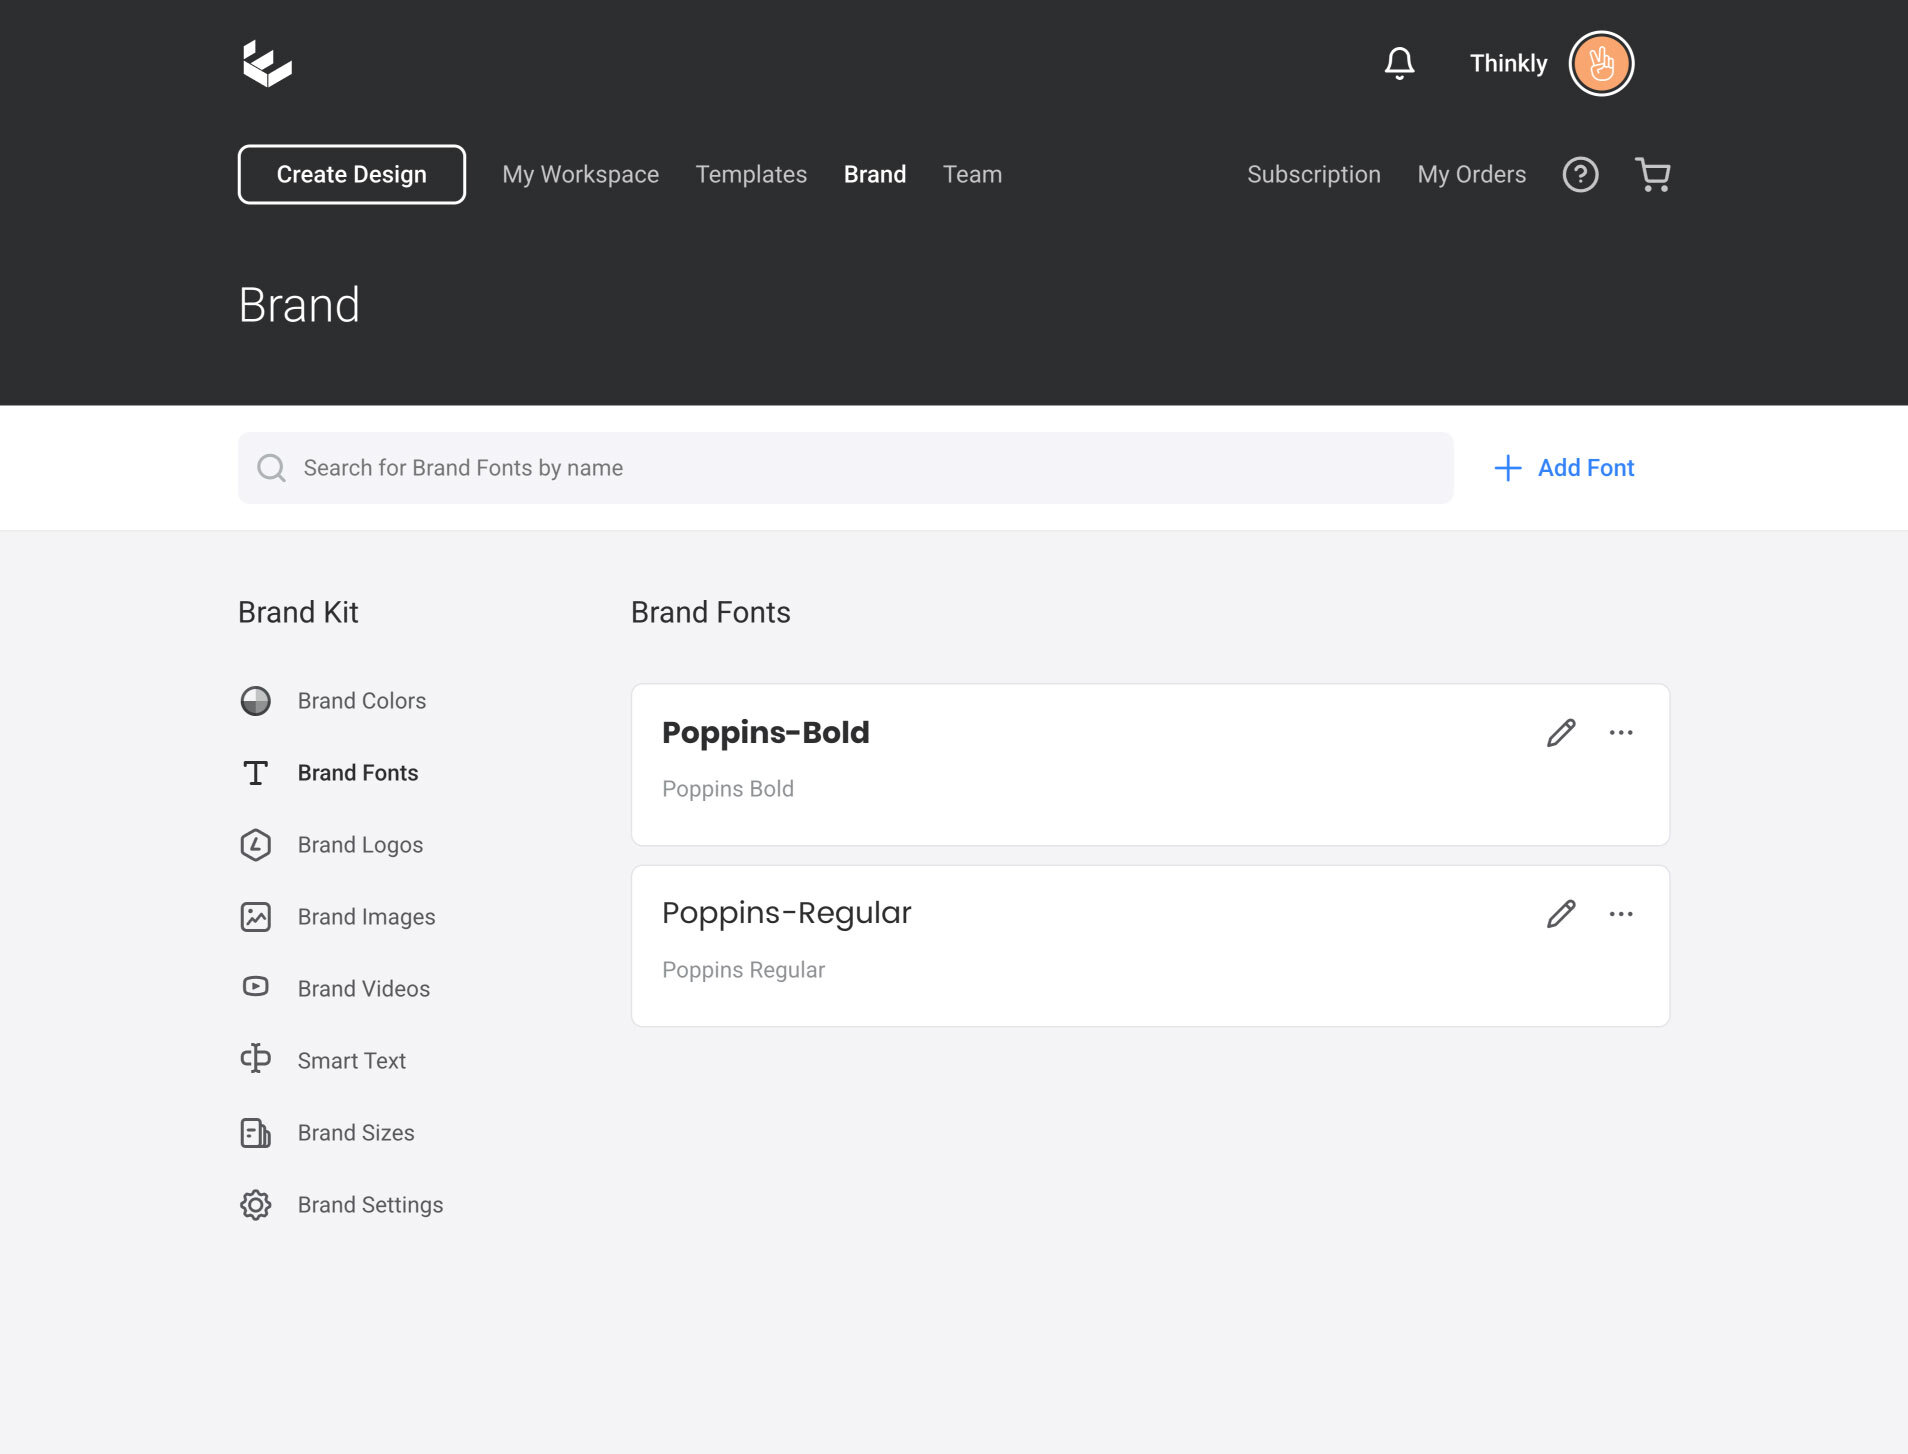
- Select Brand Fonts from the Brand Kit menu.
- Select Add Font.
- Choose an existing Easil font or upload your own font file.
- If you upload a font file, confirm that you have the right to use it for your intended purposes.
- Optional: add a Brand Font Name that your team will recognise, such as Main Heading or Body Copy.
- Select Save Font.
- Repeat for each additional font or font style.
Upload each required font style separately, so regular, bold, italic, and bold italic text can use the correct brand font.
To remove a font, open the font menu and select Delete.
Upload Brand Logos
Use Brand Logos for approved logo files, alternate lockups, reversed logos, icon-only logos, or campaign-specific logo versions.
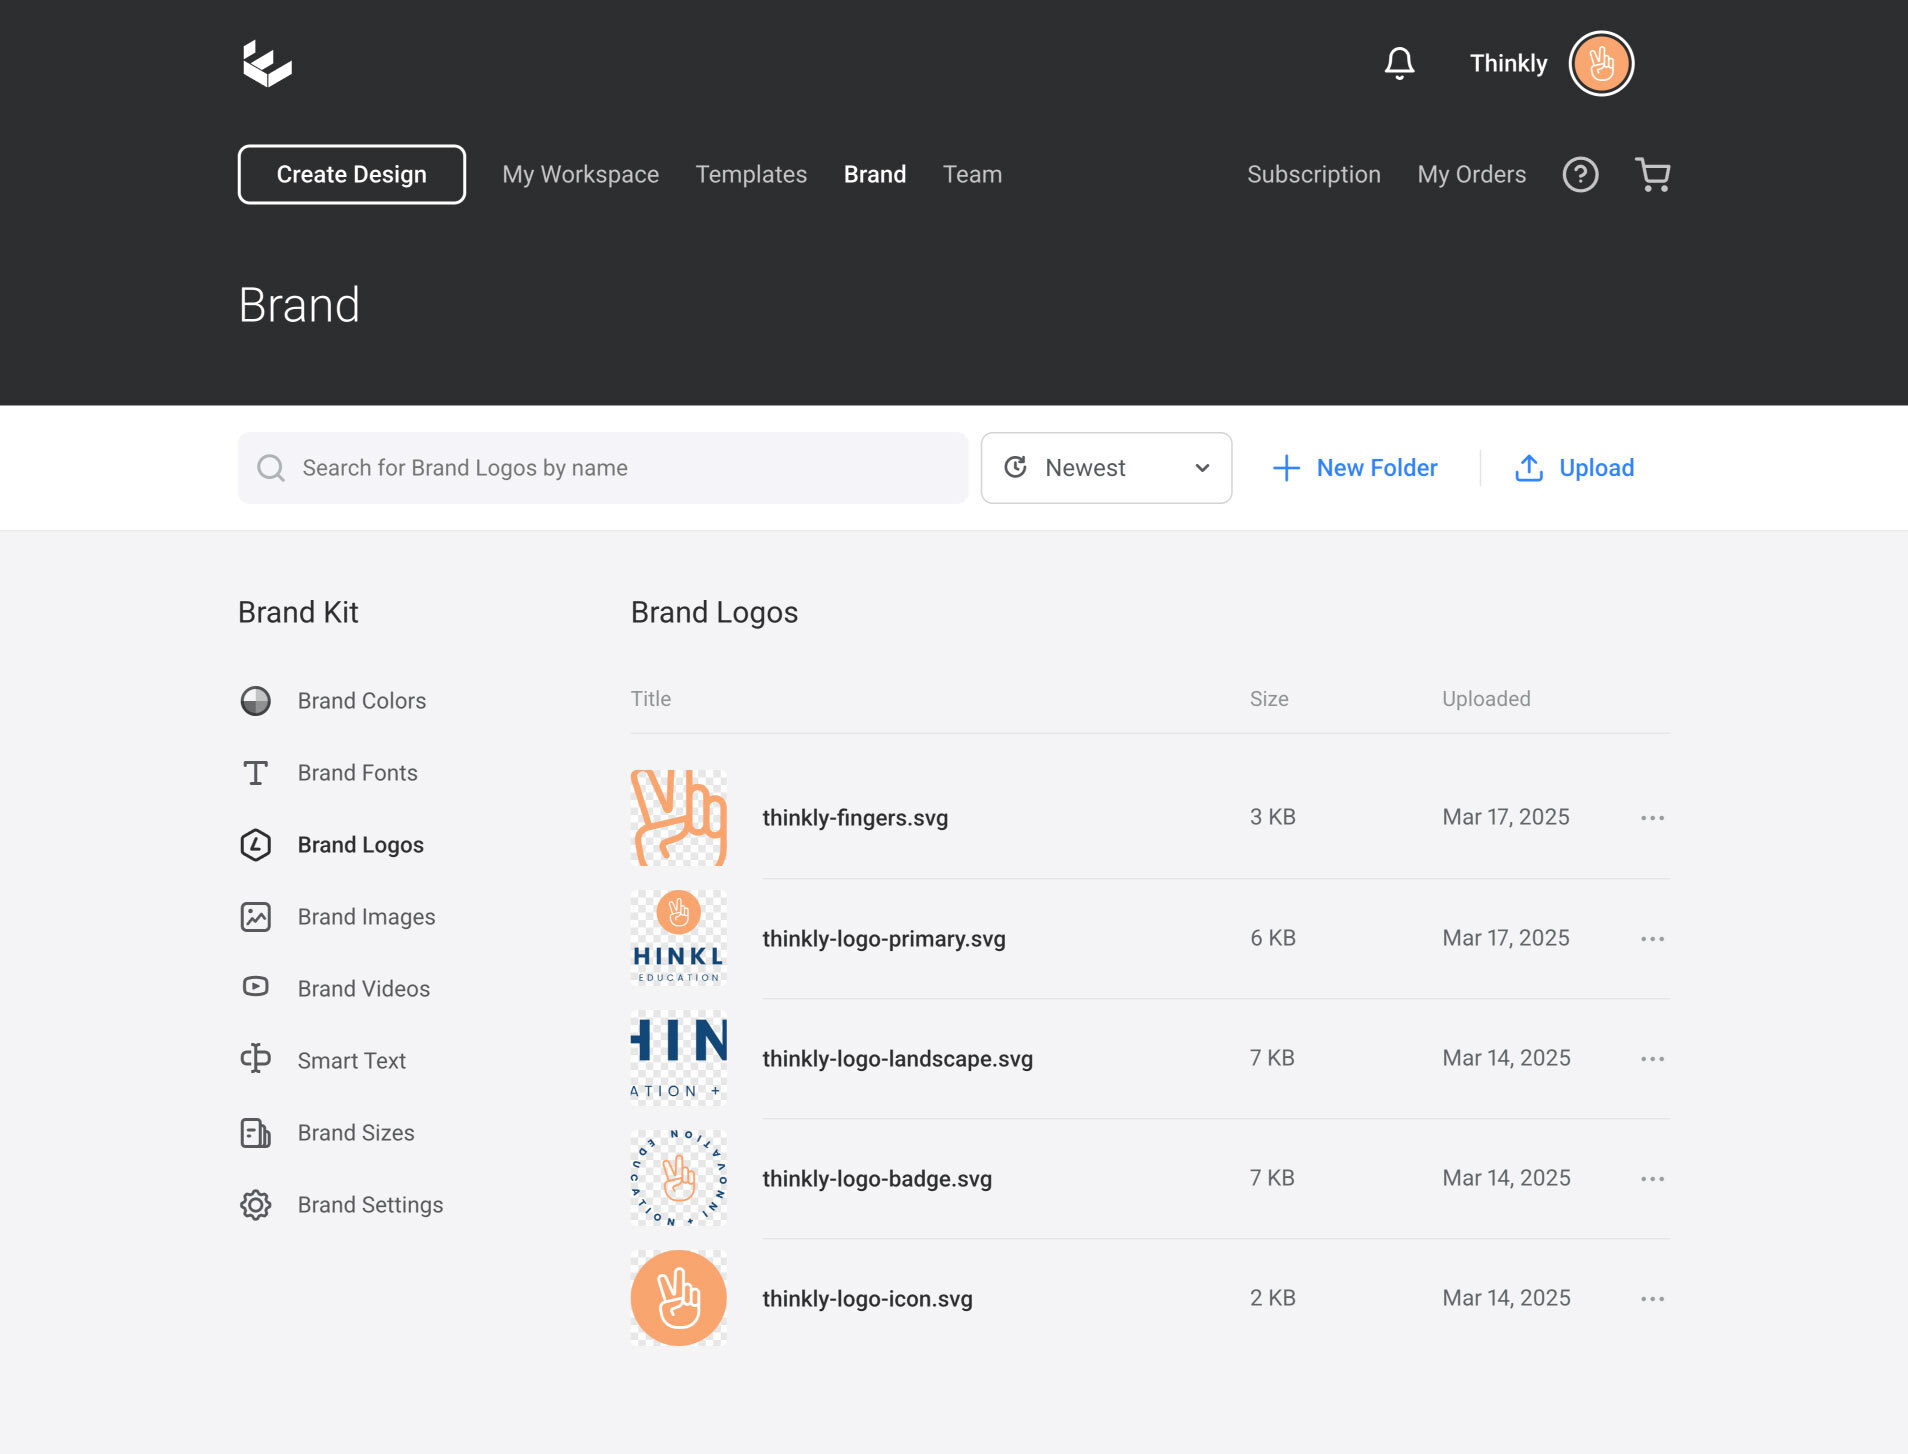
- Select Brand Logos from the Brand Kit menu.
- Select Upload or drag your logo files into the upload area.
- Upload your logo files. Easil accepts JPG, PNG, and SVG logos.
- Use New Folder if you want to organise logo sets.
- Repeat for any alternate logo versions your team needs.
To remove a Brand Logo, open the logo menu and select Delete.
Upload Brand Images
Brand Images are useful for approved photography, campaign imagery, backgrounds, textures, product shots, icons, or other image assets your team should reuse.
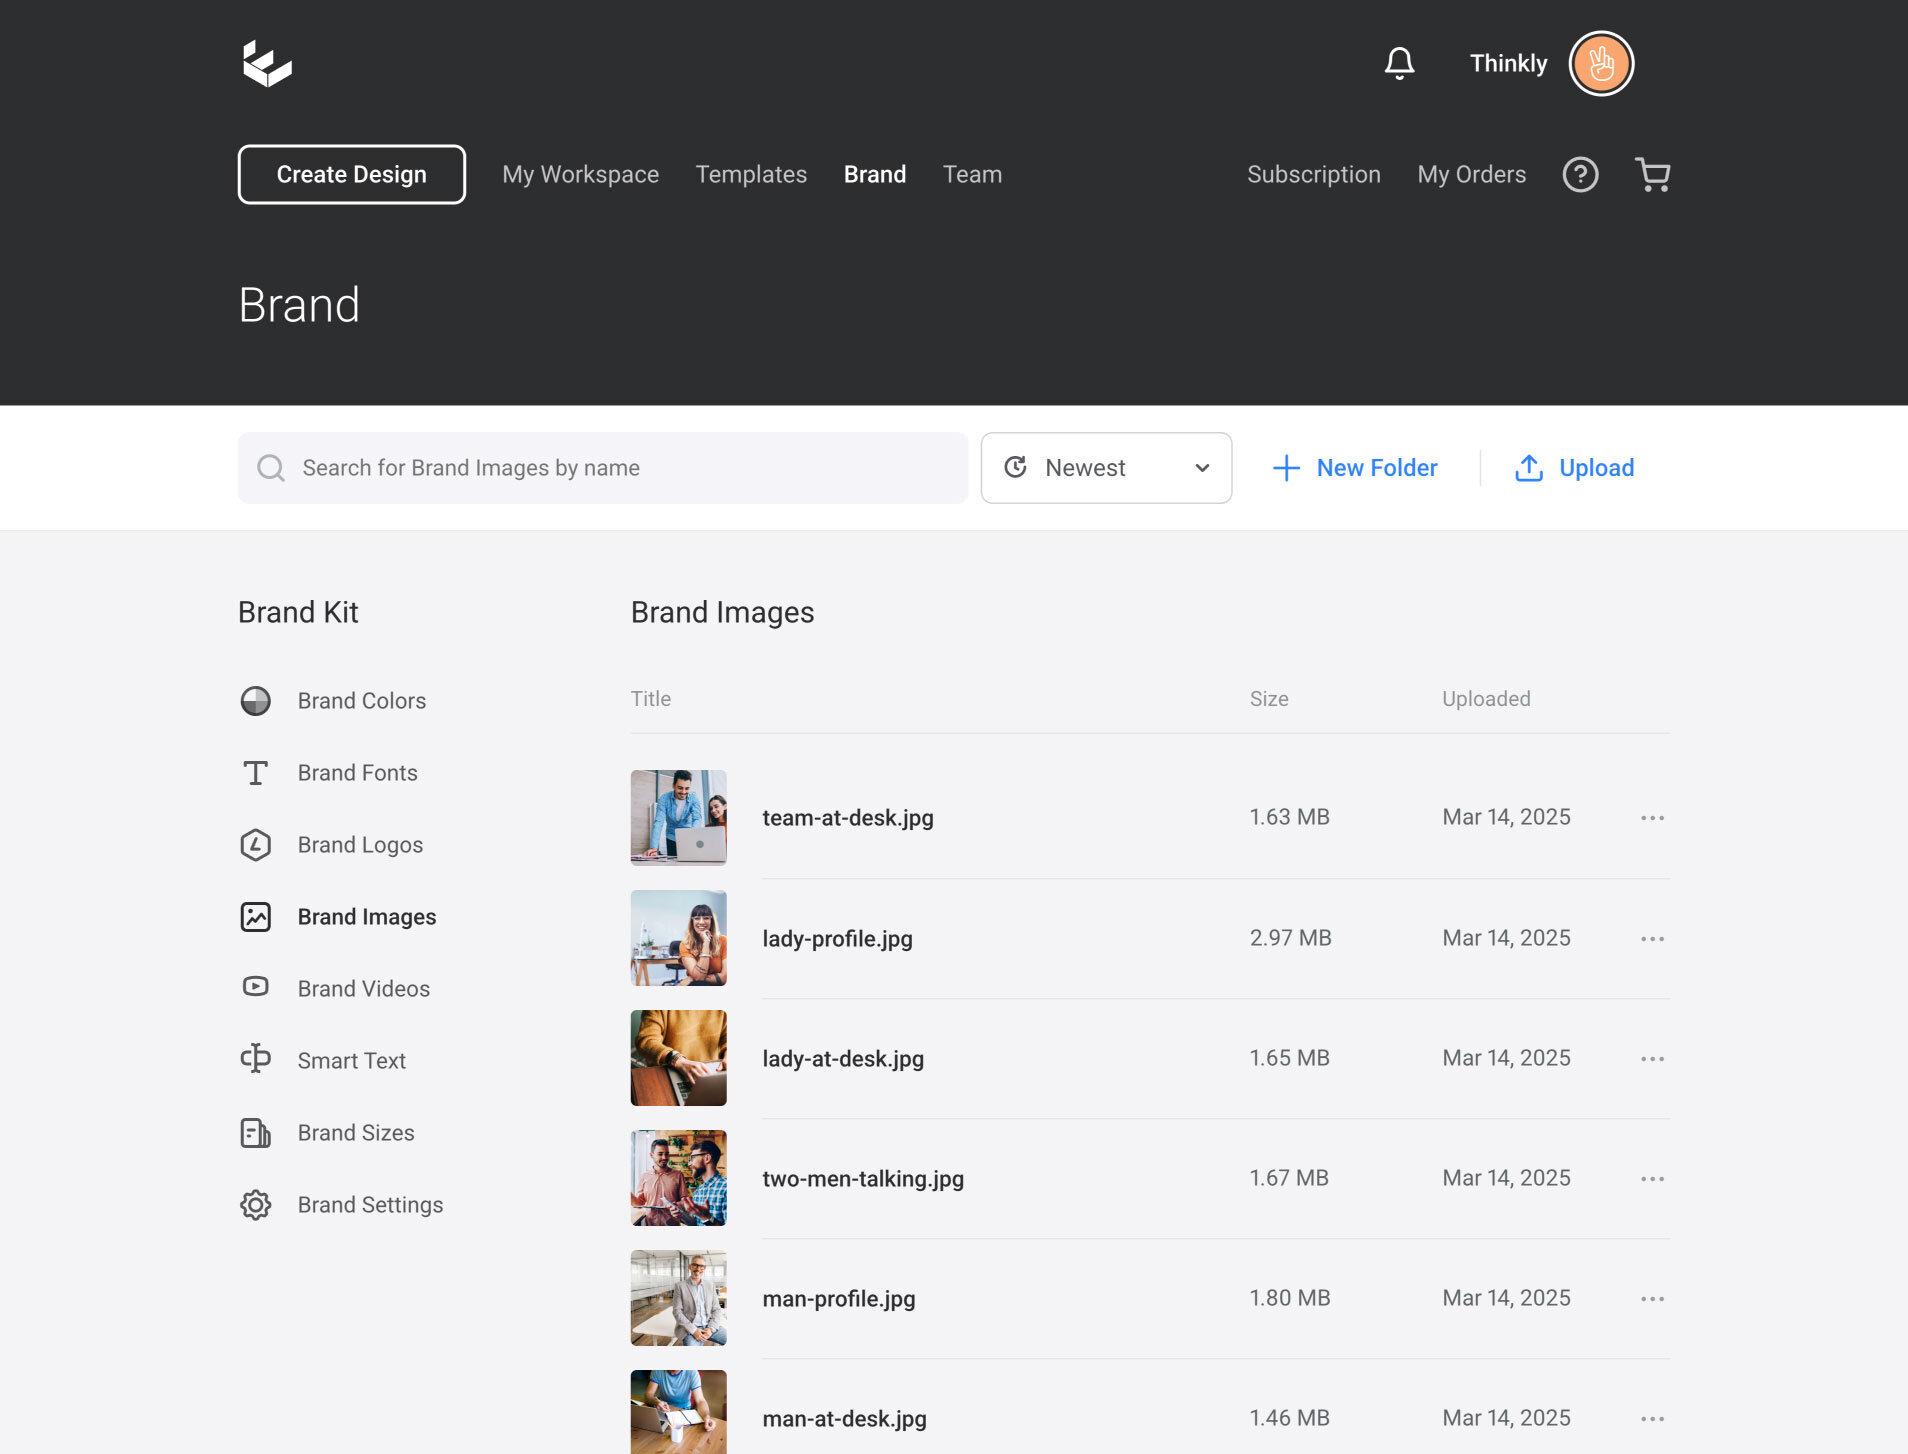
- Select Brand Images from the Brand Kit menu.
- Select Upload or drag your image files into the upload area.
- Upload the image files from your computer.
- Use New Folder if you want to organise image sets.
- Repeat for any additional images.
Brand Images can be found in the editor from the Images tab. To remove a Brand Image, open the image menu and select Delete.
Upload Brand Videos
Use Brand Videos for approved motion assets your team can add to designs.
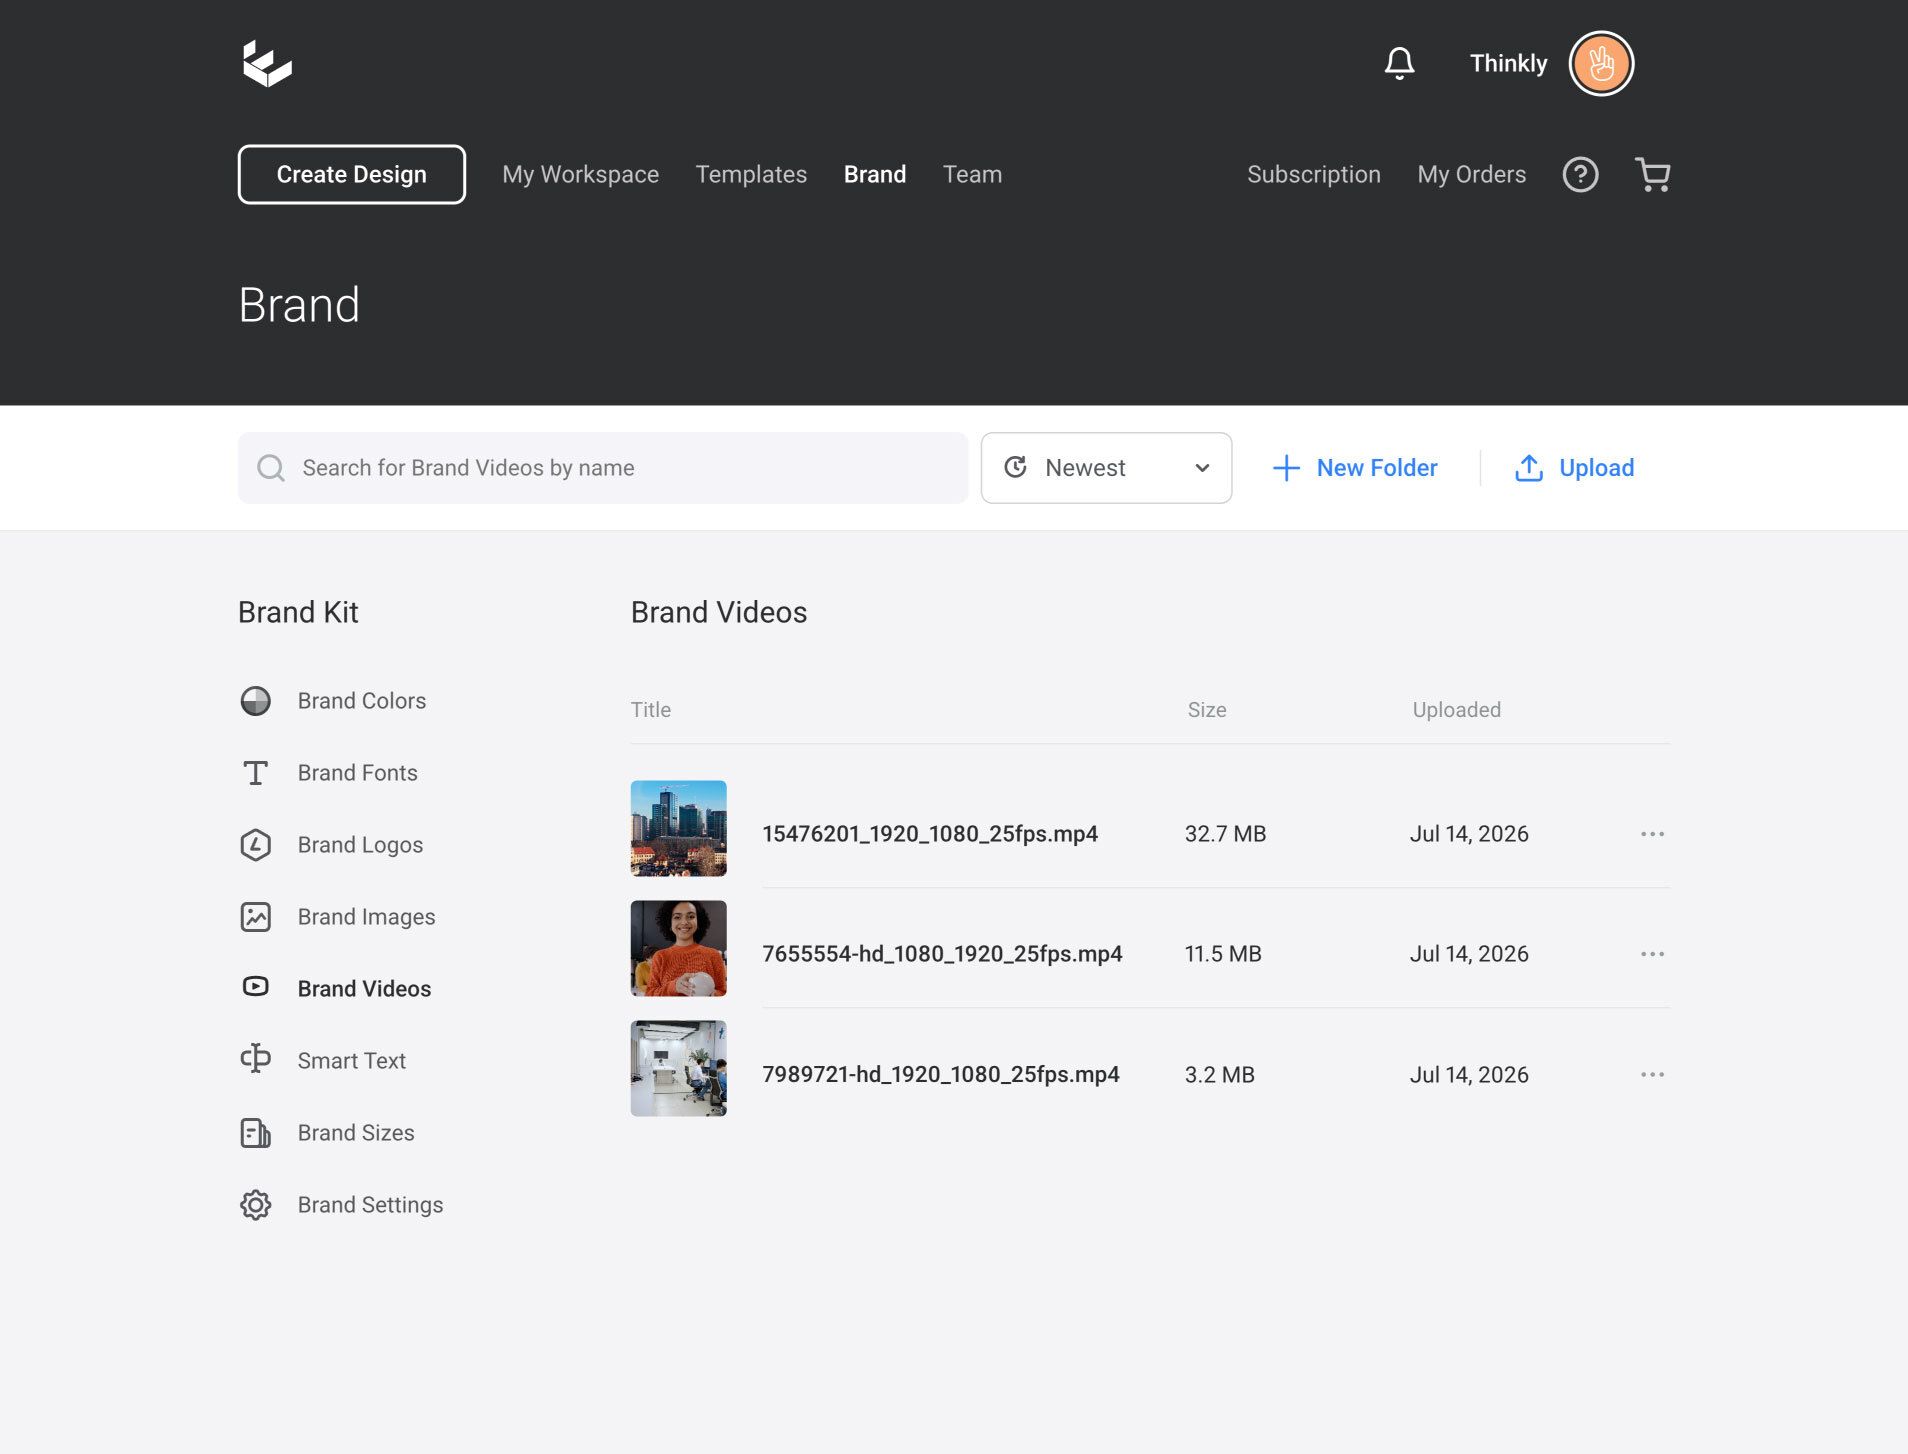
- Select Brand Videos from the Brand Kit menu.
- Select Upload or drag your video files into the upload area.
- Upload short MP4 videos up to 5 minutes each.
- Use New Folder if you want to organise video sets.
Add Smart Text
Smart Text stores reusable text values for your team. These values can then populate matching Smart Text fields in designs.
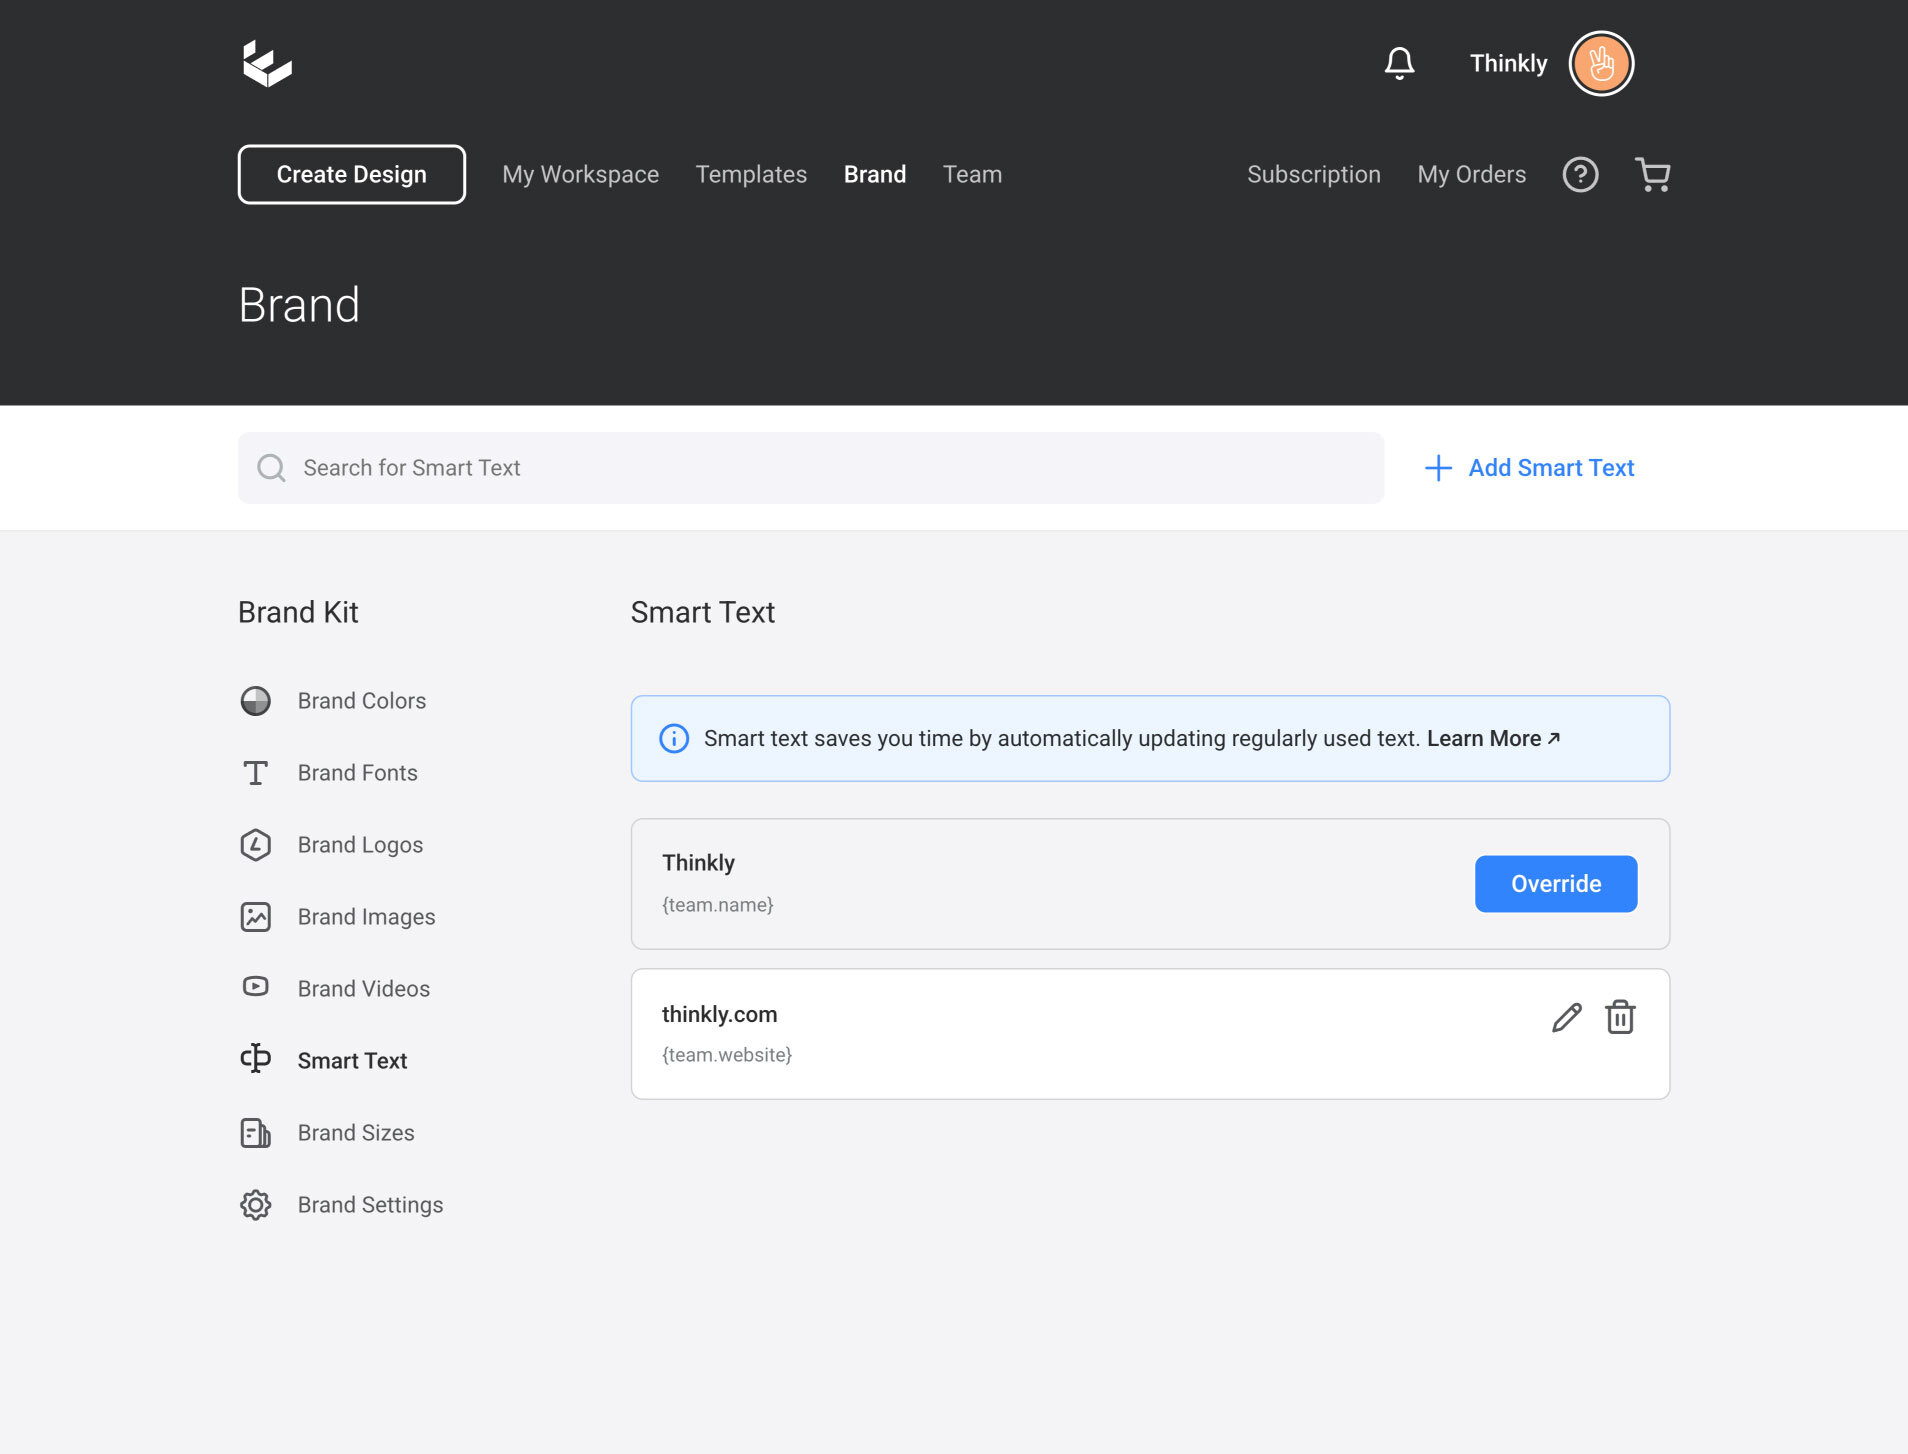
- Select Smart Text from the Brand Kit menu.
- Select Add Smart Text.
- Enter a Smart Text ID and the text content to use.
- Optional: enable QR Code if the Smart Text should be used as a QR code value.
- Select Save.
Changing a Smart Text ID can unlink existing designs that use the current ID, so update IDs carefully.
Add Brand Sizes
Brand Sizes save custom canvas dimensions for your team, so members can start new designs at the correct size.
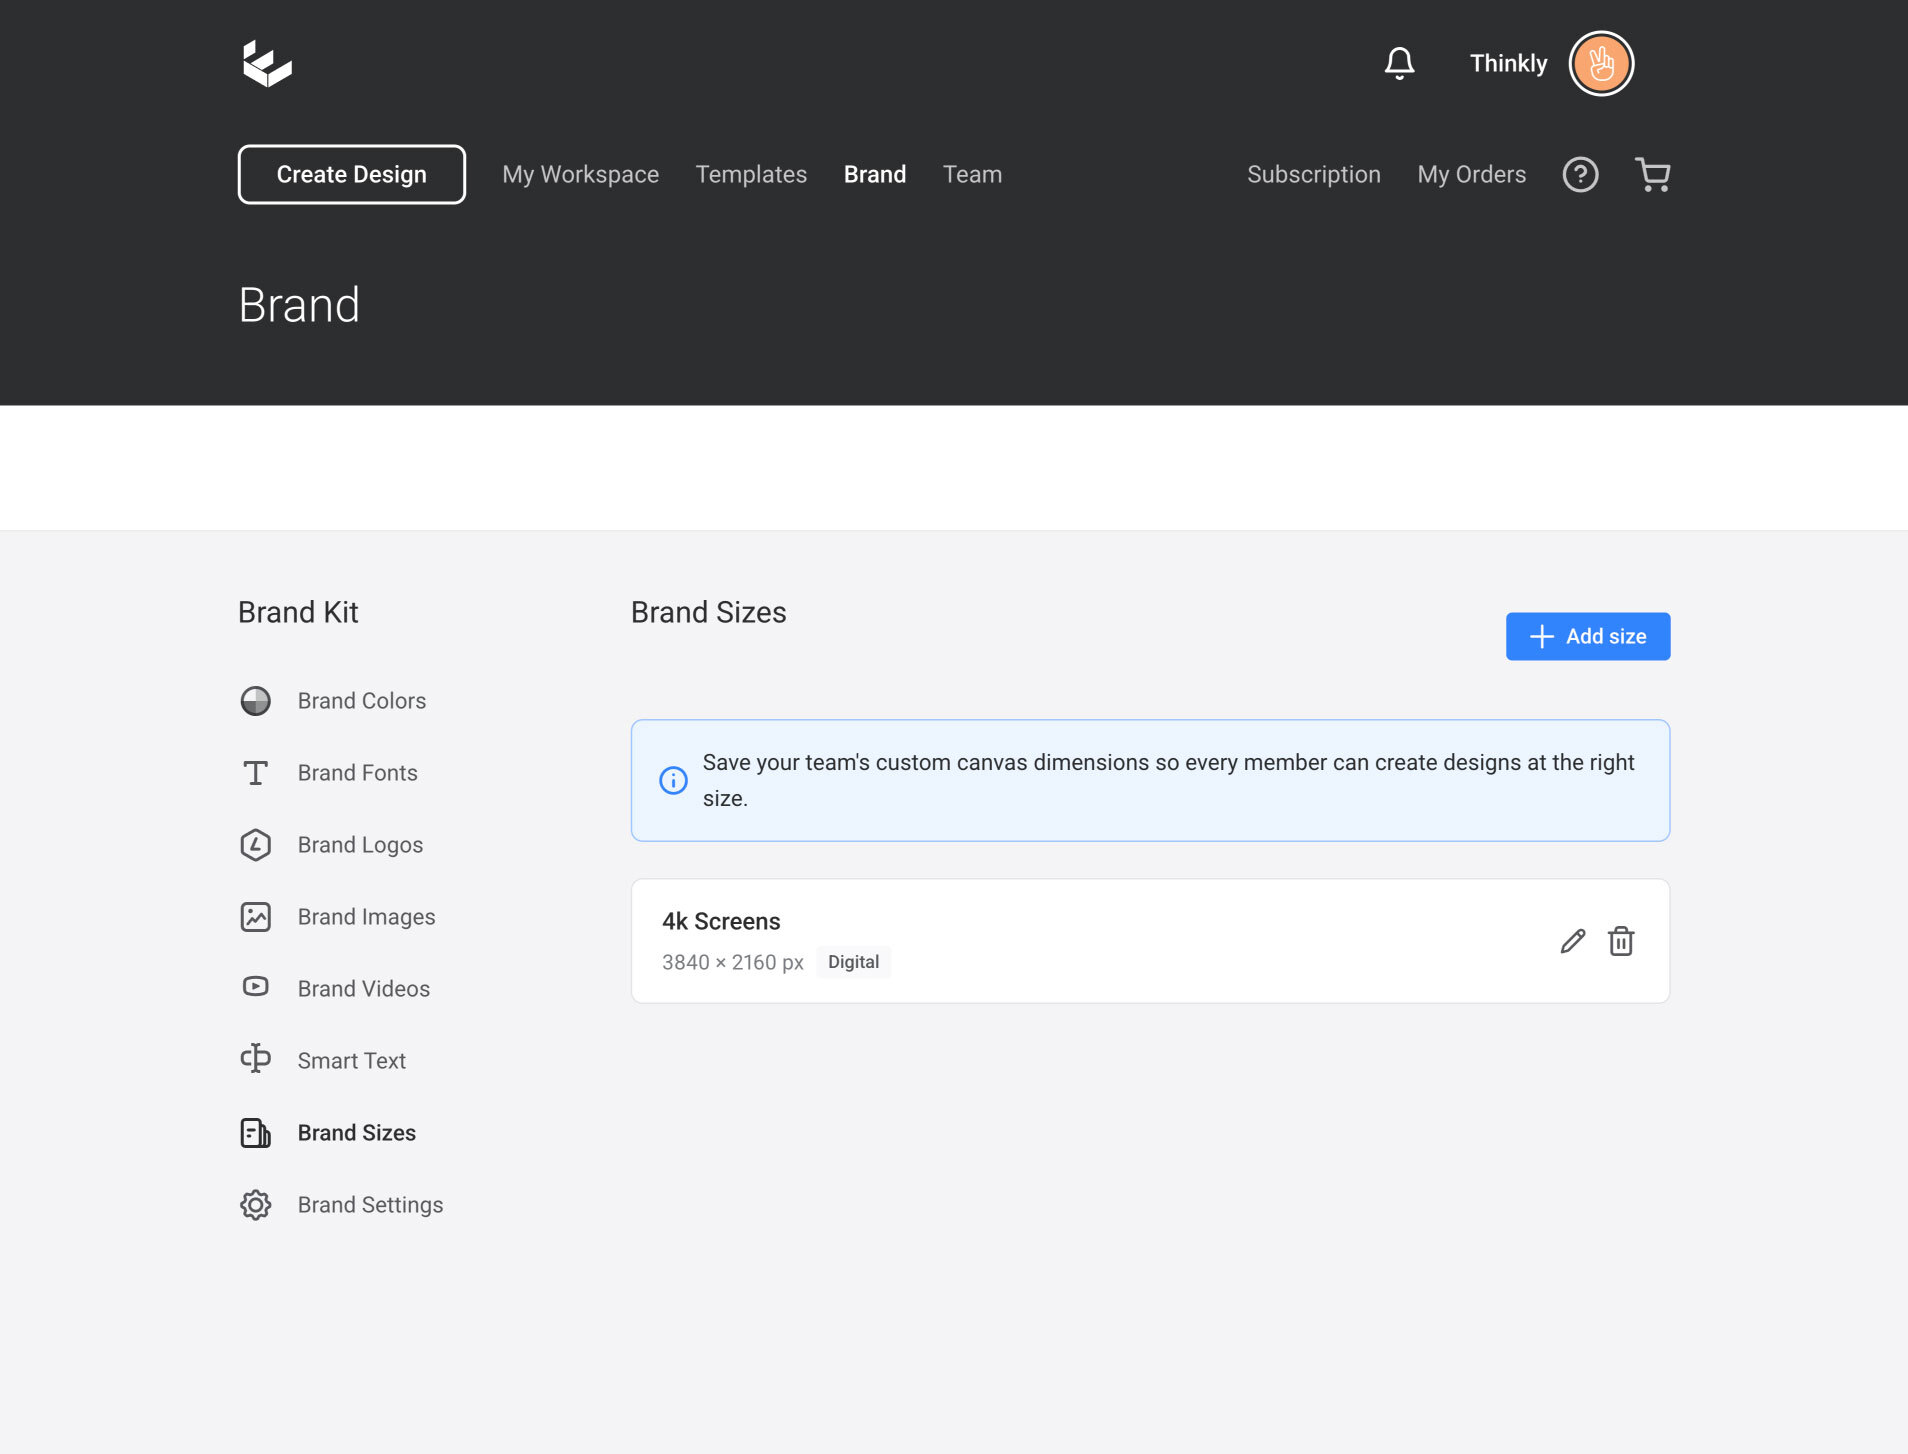
- Select Brand Sizes from the Brand Kit menu.
- Select Add size.
- Add a size name, width, height, and measurement unit.
- Keep the size Active if it should be available in the catalogue picker.
- Optional: enable Double-sided if designs created from this size need a front and back page.
- Select Save.
To update or remove an existing Brand Size, use the edit or delete icon beside that size.
Update Brand Settings
Brand Settings controls whether Easil Templates are visible to the team.
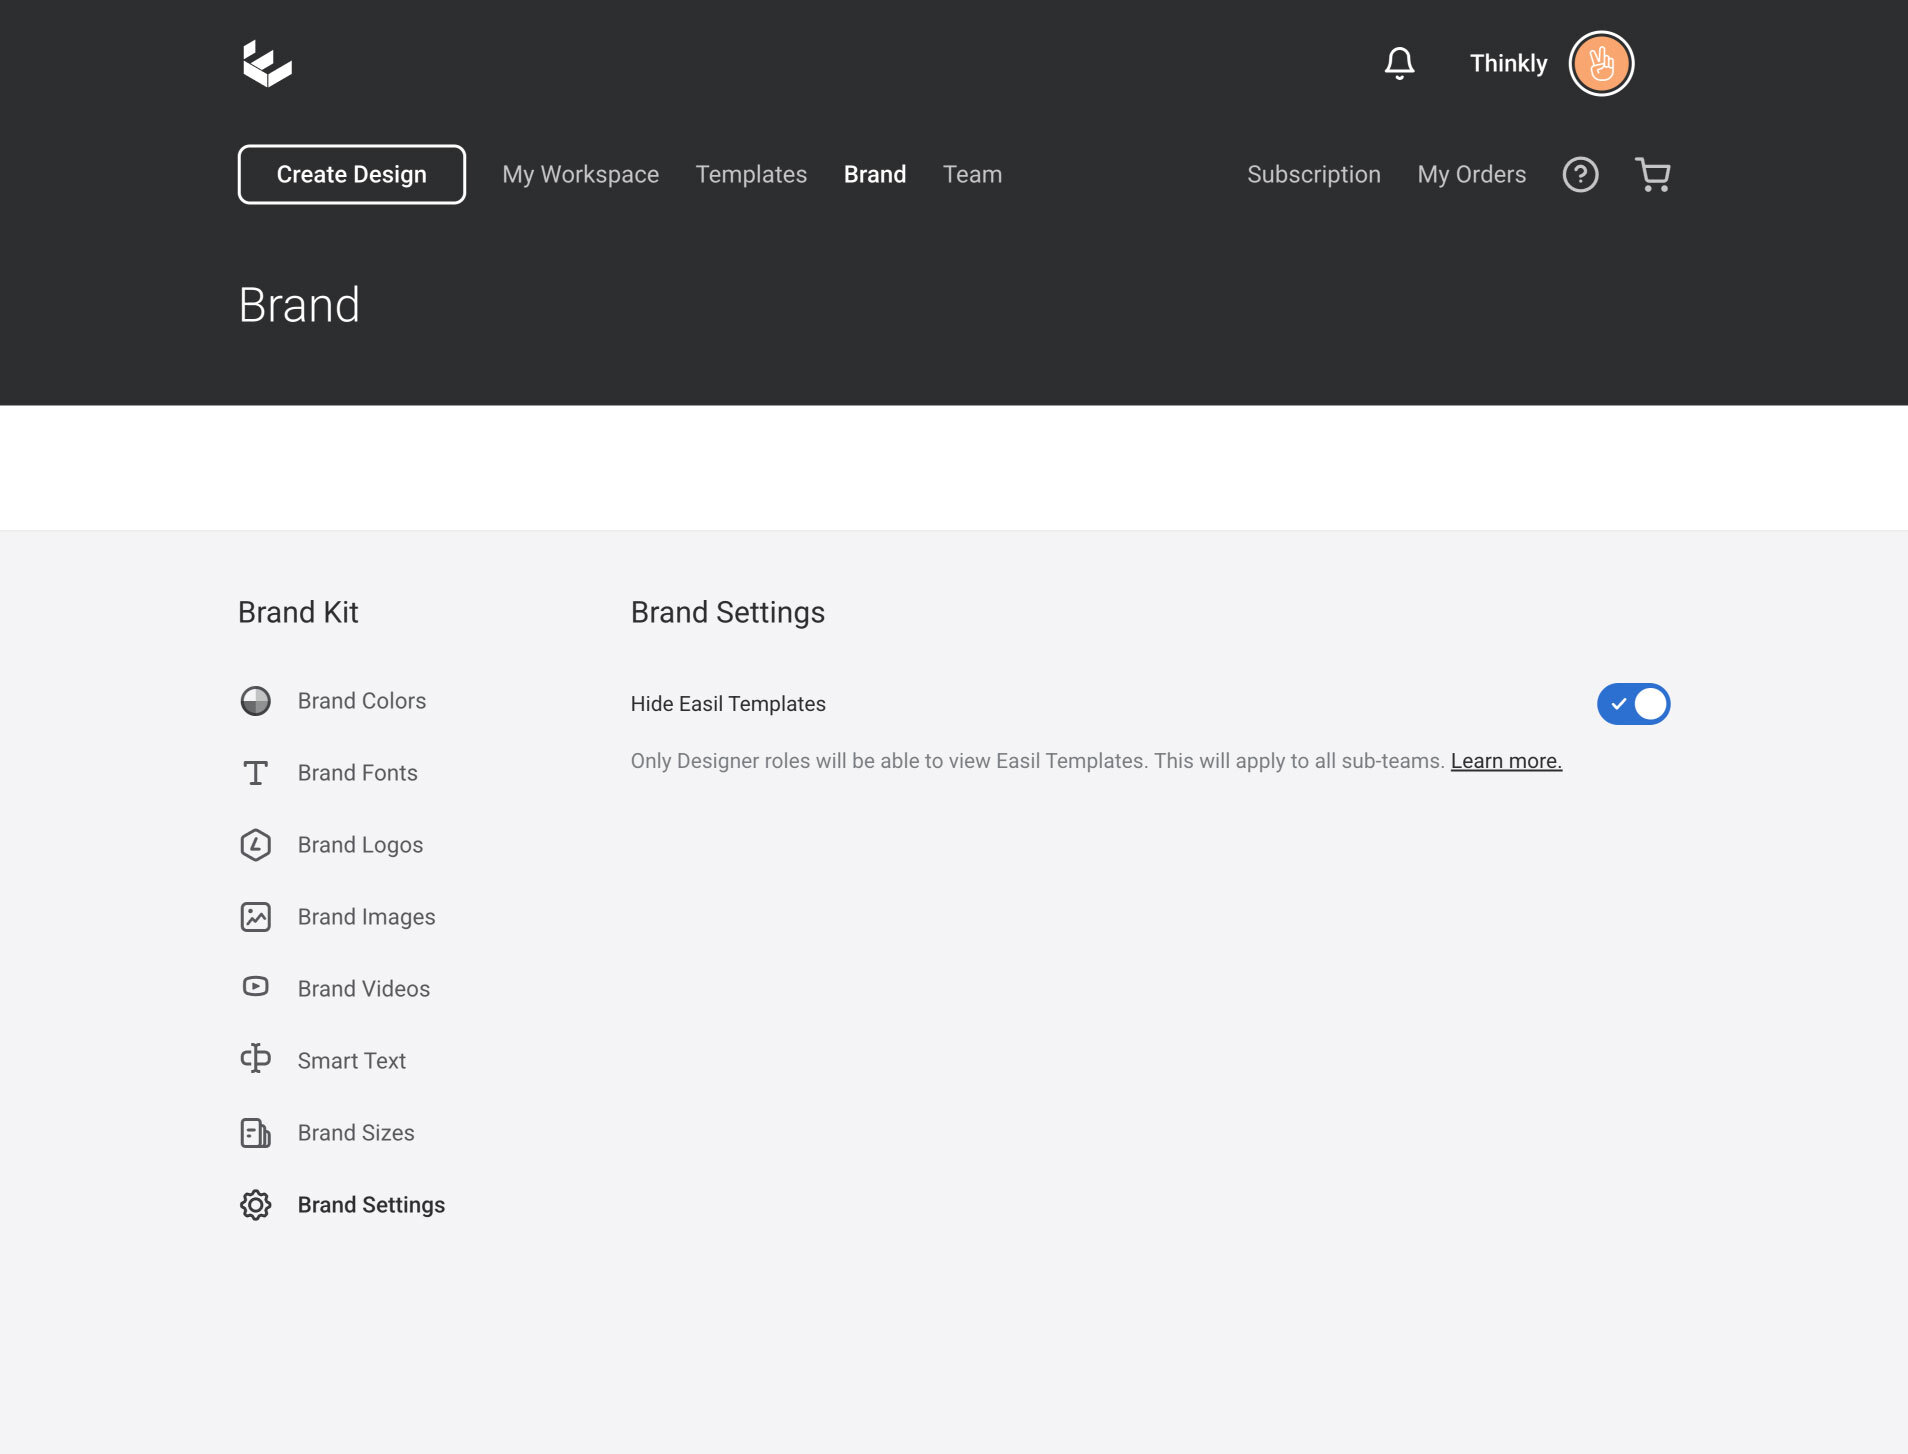
Use Hide Easil Templates when you only want Designer roles to view Easil Templates. This setting applies to sub-teams and can only be changed by Brand Managers on teams that control their own setting.
Tips for a useful Brand Kit
- Use clear asset names so team members can pick the right logo, font, image, video, Smart Text item, or Brand Size quickly.
- Add folders for larger logo, image, or video libraries.
- Add separate color palettes when your brand has campaign, seasonal, venue, or sub-brand colors.
- Upload every required font style separately.
- Remove old assets when they should no longer be used in new designs.
- Check that you are in the correct Workspace before updating Brand Kit assets.